Sippy cups are a parents’ favourite and are great for helping young children transition from bottles to regular cups. As well as being spill-proof and durable! They come in lots of different designs (have a look at our Wildlove Miracle 360 Sippy Cup) which can make mealtimes much more fun.
However, like any other item that comes in contact with our mouths, it’s important to keep sippy cups clean and sterilised to avoid the buildup of germs and bacteria.
Do I Need To Sterilise A Sippy Cup?
Yes, if your child is 12 months old or younger. Up to this age in the UK, the NHS recommends that all baby feeding equipment is sterilised as this reduces the risk of picking up infections, particularly diarrhoea and vomiting.
Once they’re over this age, whilst there is no definitive answer to this question, it is strongly recommended that you clean a sippy cup after each use and sterilise it regularly. Read below on how to properly sterilise your sippy cup.
Can Sippy Cups Go In the Dishwasher?
Yes they can, however there are two important things to remember
- Whilst it’s a good idea to regularly clean cups either by hand or in the dishwasher, going through the dishwasher doesn’t mean a sippy cup is sterilised.
- Our products are dishwasher safe, but they should go in the top rack of the dishwasher
When dishwashing a sippy cup remember to disassemble it as much as possible so all of the parts can be thoroughly cleaned. Remember to make sure that all of the different parts of the cup have dried out fully before use.
Can You Sterilise a Munchkin Sippy Cup?
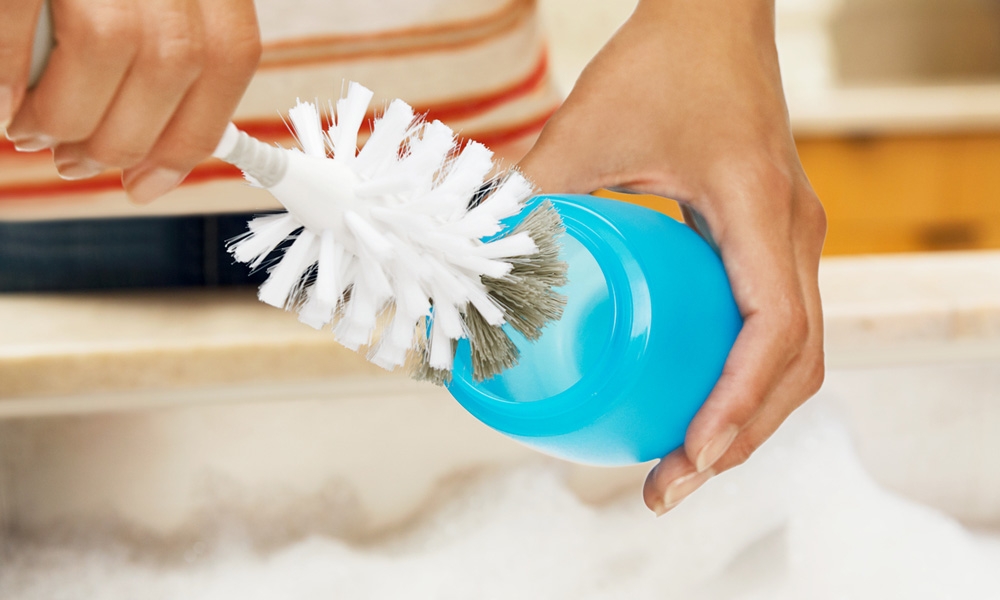
At Munchkin we know how important cleanliness is when it comes to children’s eating and drinking equipment. Some of our sippy cups, like our Click Lock Tip and Sip Cup, even come with a special brush to help you clean it effectively.
To sterilise a Munchkin cup:
Step 1: Disassemble the Sippy Cup
The first step in cleaning a sippy cup is to disassemble it. This includes removing the lid, spout, and any other removable parts (this will vary depending on the cup you’ve got). If there is a straw, remove it as well. This will allow you to clean each part thoroughly and avoid missing any hidden crevices where bacteria can grow.
Step 2: Rinse the Sippy Cup
Next, rinse the sippy cup and its parts under running water. Make sure to rinse the spout and any other small parts thoroughly.
Step 3: Clean the Sippy Cup
After rinsing, it’s time to clean the sippy cup. You can do this in the dishwasher (see above) or do this by hand using a mild dish soap.
Step 4: Sterilise the Sippy Cup
Once you have cleaned the sippy cup, it’s time to sterilise it. Sterilisation kills any remaining germs or bacteria that may have survived the cleaning process.
- Option 1 (before first use only) – Boil a pot of water and carefully place the sippy cup and its parts in the water. Boil for 5 minutes to sterilise. Use tongs to remove the sippy cup and its parts and let them air dry. We do not recommend boiling the sippy cup to sterilise it after the first use.
- Option 2 To sterilise after the first use we suggest using the cold water method. Mix water and steriliser fluid together according to the manufacturer’s instructions. Remember to change the fluid every 24 hours. Leave the parts in the sterilisation fluid for at least 30 minutes. Ensure there is no air trapped in the parts of the cup when they are placed in the fluid. Use a floating submerger to keep all parts in the fluid during sterilisation.
Step 5: Dry the Sippy Cup
Once the sippy cup and its parts have been sterilised, remove them from the steriliser and let them air dry. If you’re in a rush, you can use a clean dish towel to dry them manually (make sure they’ve cooled down first). Make sure to dry each part thoroughly to prevent any remaining moisture from becoming a breeding ground for bacteria.
How To Clean Our Miracle 360° Cups
Our Miracle 360° Sippy Cupsuse a dentist recommended spoutless design. Follow these steps when you want to clean one:
Step 1: Unscrew the Lid
Detach the lid from the container by gently unscrewing it
Step 2:Detach the Valve front the Collar
Holding the lid, detach the valve from the collar. You should be able to do this by pulling the centre of the valve but if it won’t come away easily then pull from the edge
Step 3: Remove the O Ring from the Collar
This will give you the deepest possible clean. If it’s difficult to remove the O Ring by hand, a bottle brush can be gently slid under the ring.
Step 4: Carefully Wash the Parts
You can wash all of the parts in mild, soapy water using a soft brush or in the top rack of the dishwasher
